Part of a good DevOps routine is to have the infrastructure as code. This way you can utilize a high level of control with source control. You can also effortlessly spin up another identical environment.
Terraform
If you have a sizable project that has a lot of resources or a DevOps enthusiast, it may be smart to keep it in source control.
Terraform is Hashicorp’s solution for IaC. The configuration language of choice is HcL (Hashicorp configuration language). Please do not fear learning a new language. HcL is highly enjoyable and simple to learn. It’s also multi-cloud so you can learn Terraform once and use it to provision resources on AWS, Azure, and Google Cloud.
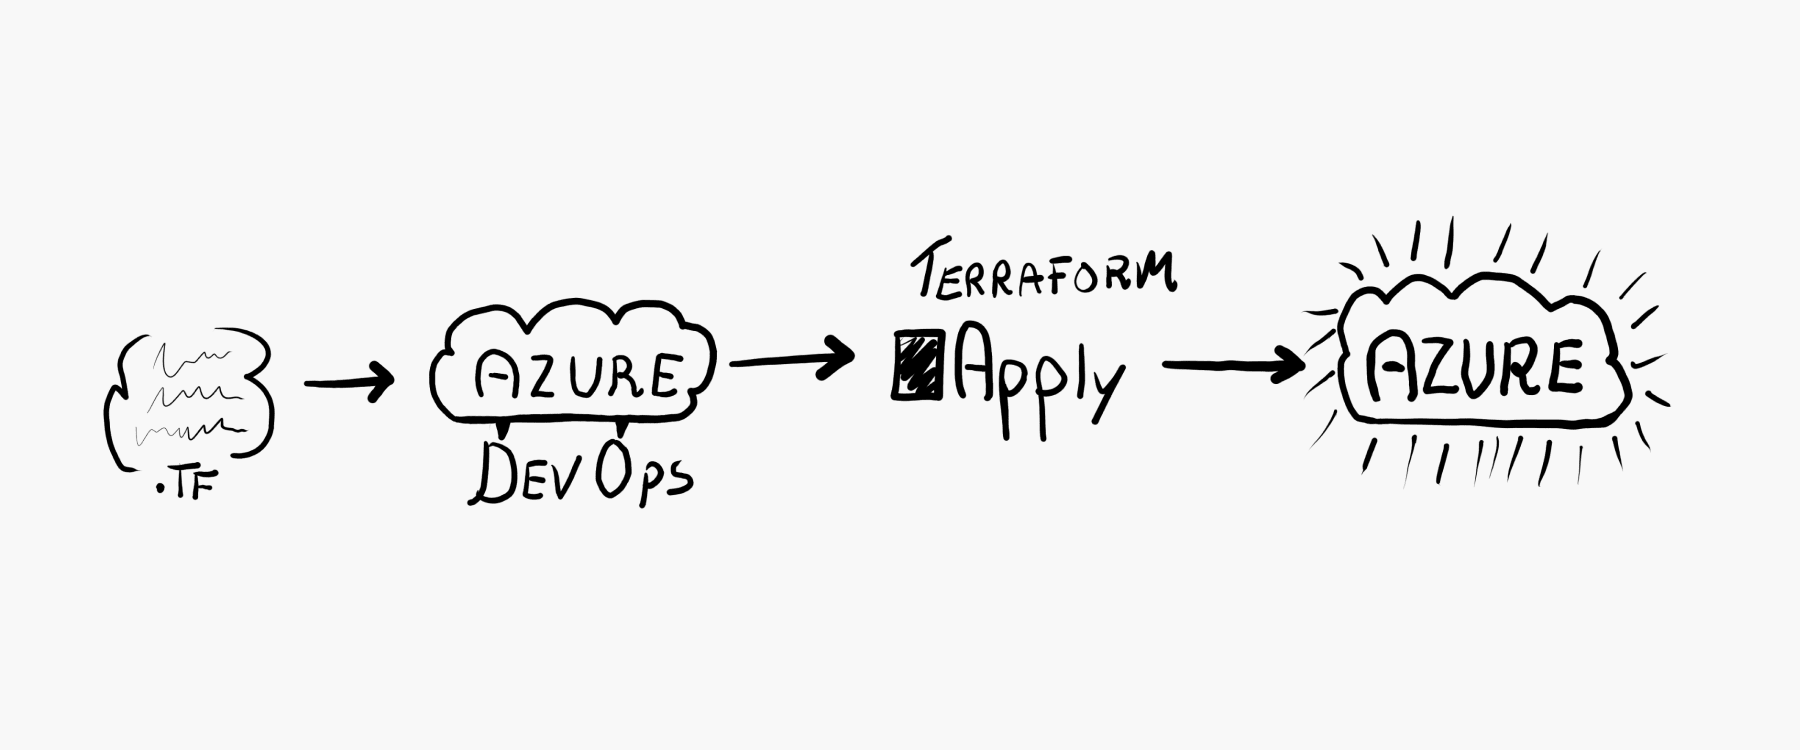
The Azure provider is relatively mature and it’s in constant development. It’s open-source so if you are having issues, you can always create an issue on their repository. If you absolutely cannot do what you want to do using Terraform, you could always use ARM templates in Terraform or even CLI commands. So let’s go through the tutorial of using it in Azure with CI/CD using Azure DevOps.
Recipe
1. Install Terraform extension
In this tutorial, I will use an extension to AzureDevOps that will enable us to run Terraform in our build pipeline. Get it here and install it in your organization.
2. Create project on AzureDevOps
Before you start creating a pipeline, you should have a project ready on AzureDevOps. Remember that the service Pipelines needs to be on (can be turned on in settings -> overview) and Repos as well.
After that, you should create a repository and clone it to your desktop. Since the pipeline will include two stages; develop and master, it is smart to create a branch develop out from master.
3. Set-up a service connection
A service connection enables you to hook-up the AzureDevOps project to the magical fairy-cloud of Azure. Create it by going to Project settings → Service connections and hit new service connection from the top right corner. There you select Azure Resource Manager and then you can use Service principal (automatic) as the authentication method.
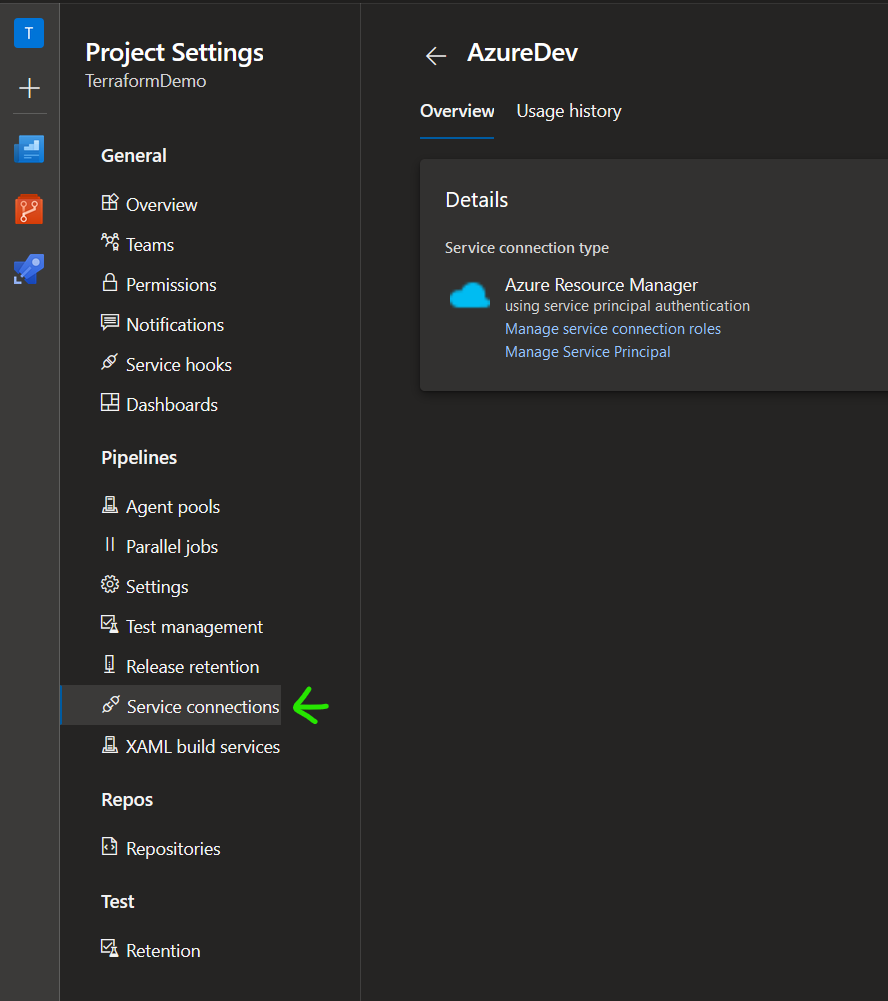
You then select the scope but remember that if you want Terraform to be able to create resource groups, you should leave the Resource group select as unselected. Pick a short and sweet name, create and you are good to go. I distinguish between the development environment and the production environment in this tutorial and, you should preferably do that too. If you do so, you can use two different subscriptions.
4. Install Terraform
Download Terraform here, zip it out and put it somewhere on your disk. Remember to add it to your system’s PATH.
5. Write infrastructure code
The fun begins after you have successfully installed Terraform. You can finally start writing deliberate infrastructure code in HcL so warm your fingers up and let’s start by getting your editor ready. If you are using Visual Studio Code, I highly recommend the excellent plugin Terraform.
So create these files:
- variables.tf
- variables/dev.tfvars
- variables/prod.tfvars
- main.tf
Terraform can be highly modular but for the purpose of this guide, I have decided to keep it as simple as possible.
variables.tf
variables.tf is the home of all the variables but not the values themselves. The values can be found in the environment specific .tfvars files.
# General
variable "resource_group_name" {
  description = "The name of the resource group"
}

variable "location" {
  description = "The Azure region in which all resources should be created"
}

# App Service
variable "app_service_plan_name" {
  description = "The name of the app service plan for the backend"
}

variable "app_service_name" {
  description = "The name of the app service for the backend"
}

# Application Insights
variable "application_insights_name" {
  description = "The name of the application insights resource"
}
variables/dev.tfvars
variables/ is the folder with the environment specific variable values. The example uses an homegrown Azure resources naming convention. Go with what you like as long as you keep it consistent.
resource_group_name                       = "rg-terraform-dev"
location                                  = "West Europe"
app_service_plan_name_backend             = "azappp-terraform-dev"
app_service_name_backend                  = "azapp-terraform-dev"
application_insights_name                 = "appi-terraform-dev"
variables/prod.tfvars
resource_group_name                       = "rg-terraform-prod"
location                                  = "West Europe"
app_service_plan_name_backend             = "azappp-terraform-prod"
app_service_name_backend                  = "azapp-terraform-prod"
application_insights_name                 = "appi-terraform-prod"
main.tf
main.tf is where the infrastructure code resides. The Azure Provider is well documented and it can be found here.
/*
* Provider block defines which provider they require
*/

provider "azurerm" {
  version = "=2.26.0"
  features {}
}

terraform {
  backend "azurerm" {}
}

/*
* Resource Group
*/
resource "azurerm_resource_group" "this" {
  name     = var.resource_group_name
  location = var.location
}

/*
* App Service Plan
*/
resource "azurerm_app_service_plan" "this" {
  name                = var.app_service_plan_name
  location            = azurerm_resource_group.this.location
  resource_group_name = azurerm_resource_group.this.name
  kind                = "Windows"

  sku {
    tier = "Standard"
    size = "S1"
  }
}

/*
* App Service
*/
resource "azurerm_app_service" "this" {
  name                = var.app_service_name
  location            = azurerm_resource_group.this.location
  resource_group_name = azurerm_resource_group.this.name
  app_service_plan_id = azurerm_app_service_plan.this.id

  site_config {
    websockets_enabled = true
  }

  app_settings = {
    "APPINSIGHTS_INSTRUMENTATIONKEY"      = "${azurerm_application_insights.this.instrumentation_key}"
    "APPINSIGHTS_PORTALINFO"              = "ASP.NET"
    "APPINSIGHTS_PROFILERFEATURE_VERSION" = "1.0.0"
    "WEBSITE_HTTPLOGGING_RETENTION_DAYS"  = "35"
  }
}

/*
* Application Insights
*/
resource "azurerm_application_insights" "this" {
  name                = var.application_insights_name
  location            = azurerm_resource_group.this.location
  resource_group_name = azurerm_resource_group.this.name
  application_type    = "web"
}
6. Create storage account for state files
Terraform relies on a state file so it can know what has been done and so forth. The Terraform extension will use a storage account in Azure that we define. So go to your Azure portal and create these resources or use your existing ones.
- Resource Group: rg-terraform-demo
- Storage Account: stterraformdemo
- Storage Container: terraform
The resource naming is completely optional since they are inside the azure-pipelines.yml file. Remember to double-check the state file resources in azure-pipelines.yml.
7. Write build pipeline
The infrastructure is defined and ready to be deployed on Azure but before we can do that, we would have to define the AzureDevOps build pipeline.
In this example, I will use a deployment template so we can keep it clean in the main azure-pipelines file and reuse it later.
So create these files:
- azure-pipelines.yml
- azure-pipelines-deployment-template.yml
azure-pipelines.yml
The two stages, DeployDev and DeployProd is identical apart from the variables passed in the template and that the DeployProd only triggers from the master branch.
# Set how the build pipeline triggers
trigger:
  branches:
    include:
      - develop
      - master

# Just say its gonna trigger on pull requests too
pr:
  branches:
    include:
      - develop
      - master

variables:
  # Name of the pipeline. Defaults to the AzureDevOps project name but it can be changed.
  - name: pipelineName
    value: TerraformDemo
  # Name of the resource group where the state file lies
  - name: tfStateRgName
    value: rg-terraform-demo
  # Name of the storage account for the state file
  - name: tfStateStName
    value: stterraformdemo
  # Name of the container for the state file
  - name: tfStateCtrName
    value: terraform

stages:
- stage: DeployDev
  displayName: Deploy Dev
  jobs:
  - template: azure-pipelines-deployment-template.yml
    parameters:
      environment: 'Dev'
      pipelineName: ${{variables.pipelineName}}
      backendServiceName: AzureDev
      tfStateRgName: ${{variables.tfStateRgName}}
      tfStateStName: ${{variables.tfStateStName}}
      tfStateCtrName: ${{variables.tfStateCtrName}}

- stage: DeployProd
  displayName: Deploy Prod
  condition: and(succeeded(), eq(variables['Build.SourceBranch'], 'refs/heads/master'))
  jobs:
  - template: azure-pipelines-deployment-template.yml
    parameters:
      environment: 'Prod'
      pipelineName: '${{variables.pipelineName}}'
      backendServiceName: AzureProd
      tfStateRgName: '${{variables.tfStateRgName}}'
      tfStateStName: '${{variables.tfStateStName}}'
      tfStateCtrName: '${{variables.tfStateCtrName}}'
azure-pipelines-deployment-template.yml
parameters:
- name: 'environment'
  type: 'string'
  displayName: 'The name of the environment'

- name: 'pipelineName'
  type: 'string'
  displayName: 'The name of the pipeline'

- name: 'backendServiceName'
  type: 'string'
  displayName: 'The name of the backend service'

- name: 'tfStateRgName'
  type: 'string'
  displayName: 'The name of the az resource group where the tf state file should be'

- name: 'tfStateStName'
  type: 'string'
  displayName: 'The name of the az storage account where the tf state file should be'

- name: 'tfStateCtrName'
  type: 'string'
  displayName: 'The name of the az storage account container where the tf state should be'

jobs:
  - job: Deploy
    displayName: Deploy ${{parameters.environment}}
    continueOnError: false
    pool:
      name: 'Azure Pipelines'
      vmImage: 'windows-latest'
    steps:
    - task: ms-devlabs.custom-terraform-tasks.custom-terraform-installer-task.TerraformInstaller@0
      displayName: 'Install Terraform 0.12.12'
      inputs:
        terraformVersion: 0.12.12
    - task: ms-devlabs.custom-terraform-tasks.custom-terraform-release-task.TerraformTaskV1@0
      displayName: 'Terraform init'
      inputs:
        workingDirectory: '$(Build.SourcesDirectory)'
        backendServiceArm: ${{parameters.backendServiceName}}
        backendAzureRmResourceGroupName: ${{parameters.tfStateRgName}}
        backendAzureRmStorageAccountName: ${{parameters.tfStateStName}}
        backendAzureRmContainerName: ${{parameters.tfStateCtrName}}
        backendAzureRmKey: 'terraform-${{lower(parameters.environment)}}.tfstate'
    - task: ms-devlabs.custom-terraform-tasks.custom-terraform-release-task.TerraformTaskV1@0
      displayName: 'Terraform apply'
      inputs:
        command: apply
        workingDirectory: '$(Build.SourcesDirectory)'
        commandOptions: '--var-file="variables/${{lower(parameters.environment)}}.tfvars"'
        environmentServiceNameAzureRM: ${{parameters.backendServiceName}}
8. Commit and verify
If you have followed this recipe and done every step correctly, you can commit and verify that the code is working. If it failed, the Terraform output found in the build pipeline result is usually pretty helpful.
Alternatives
ARM Templates
ARM templates are native to Azure but they are a pain to work with. The resources are defined in JSON and they can be generated through the Azure portal easily. But you seriously don’t want to write them yourself. The other alternative is Azure Blueprint but in the end, you are still using ARM templates.
Pulumi
If you do not want nor have the time to learn HcL (Hashicorps Configuration Language) you can try out Pulumi. It is using the Terraform modules deep down but you can write the infrastructure using Node.js (JavaScript, TypeScript), Python, .NET Core (C#, F# or Visual Basic), and Go.
Azure CLI
Azure command-line interface is a set of commands to create and manage Azure resources. The Azure CLI is a great way to get started and it can works reasonably well if you keep your scripts neats and tidy. The big downside to using this solution is that you won’t get a state file that Terraform provides you without any hassle.
Powershell
Azure PowerShell is a set of cmdlets for managing Azure resources. Powershell is delightful awesome and pleasant to work with and it’s a step up from using the Azure CLI. The downside here is the same as using the Azure CLI. For light provisioning, using Azure CLI or Powershell may be sensible. For the rest, Terraform is a huge step up and it takes a lot of complexity out of certain aspects.
Try it
It may look daunting at first but you will get the hang of it quickly. Try it to see how it works. And when you want to get a new environment up and running, you will be thankful for dedicating time and resources to learn Terraform. It is also such a relief knowing that your infrastructure is in source control.